
Setting Your Guitar Truss Rod to Avoid Bent Necks
 Wood bends. We all know this fact. Branches sway in the wind, and trunks warp. It’s natural. But when it comes to our guitars, bending wood is no longer natural, no longer beautiful; it is horrific.
No one likes to pick up their guitar and see a bend in the neck. Likewise, no one likes to worry about how much it will cost to fix the guitar, or worse, to replace it.
In this lesson, we will teach you how to set your guitar truss rod correctly so that your fear of fixing guitar neck twisting becomes a thing of the past.
The tools you will need are a screwdriver (usually flathead), a small Philips head, and in some cases, depending on your guitar, an Allen –or hex– wrench.
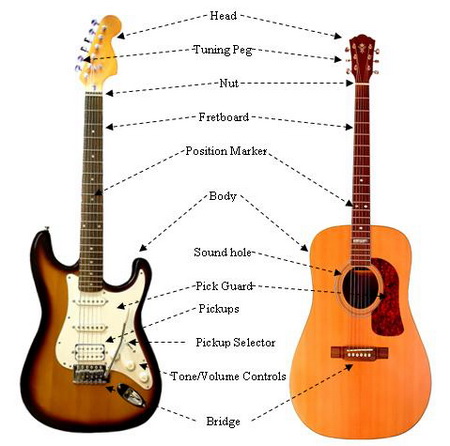
Where is the Truss Rod Found?
Before you can adjust your truss rod, you need to locate it. Your truss rod should either be under the truss rod plate (a small plastic plate just above the nut on your guitar’s headstock) or at the end of the neck on the lower side. In the second case, which is common if you have a Fender, you will need to take off your faceplate if you have to get access to the truss rod.
Once you have located the truss rod, if it has a face plate, remove it.
Now comes the crucial part; diagnosing your problem.
The Direction of Tightening or Loosening Matters
If your guitar neck is bowing –or dipping— you will need to loosen the truss rod. If your neck is bulging, you will need to tighten it.
Tightening your truss rod brings the rod closer to the body, which in turn adds bow or dip. Loosening your truss rod takes away your bow.
Pay close attention; never under any circumstances adjust the truss rod more than a quarter turn at a time.
If you do, you risk permanently damaging your guitar neck. A little goes a long, long way when adjusting your truss rod. Keep this in mind, as it is easy to get carried away and start playing professional craftsman.
Check And Make Sure That Everything is Done Correctly
The way to check your neck in between adjustments is by holding it at a forty five degree angle from your body. The neck should have a very slight relief, or bow, but should otherwise be nearly perfectly straight.
Adjusting your truss rod is a nerve racking procedure. It is as close to performing open heart surgery upon your guitar as you can get. If you find that you are too nervous, it is best that you bring your guitar to a professional to get it set up. This will eliminate the possibility of damaging your guitar due to unsteady nerves.
In the end, setting your guitar truss rod correctly isn’t a very difficult thing to do. It requires patience and your full attention, but other than that it is as easy as tightening a shoelace. Remember, wood is strong.
Don’t get worried about undoing the bow damage. Do be worried about causing real damage such as breaking the neck. Be calm, be patient, and above all pay attention when you are making adjustments.
Learn to Setup Your Own Guitar Anytime, Anywhere

Learn And Master Guitar Setup & Maintenance is a comprehensive step-by-step video course that shows you how to setup your guitar at home using simple tools.
You will be able save time and money by learning to make your own adjustments for maximum playability and better tone.
Related Articles


We Recommend…

Leave A Comment